Simple Neural Net
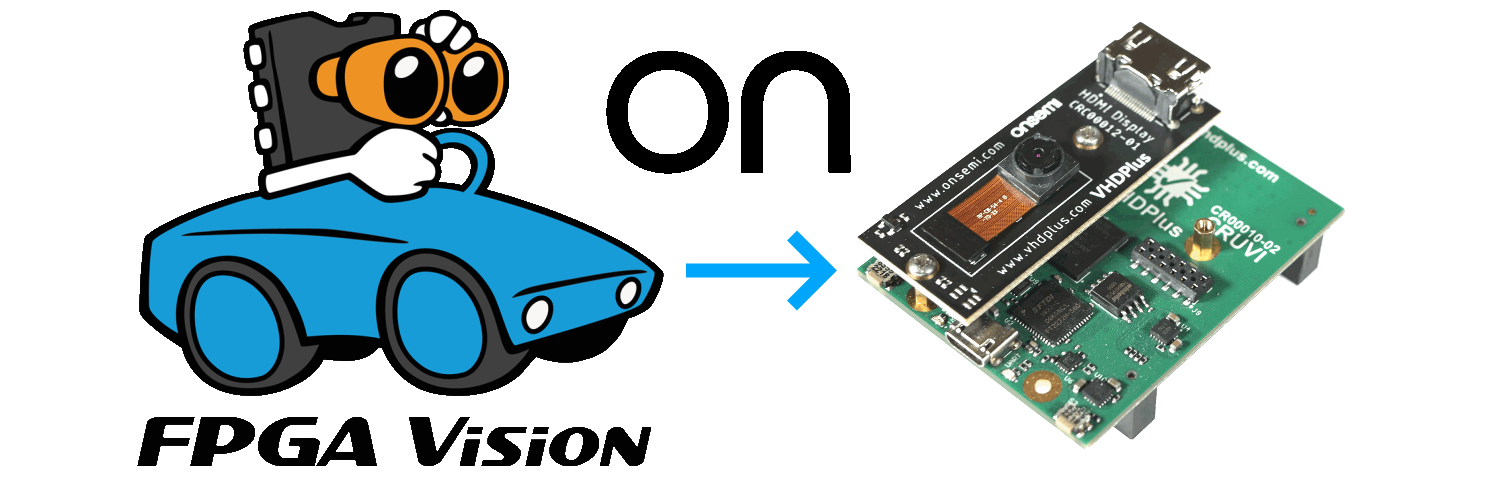
What is the tutorial about?
In this tutorial you learn how to implement simple neural nets in an FPGA. In this example, the neural net is trained for colors. With the IAS Camera Exptension, the performance of this filter is tested.
Why an FPGA?
While a processor has to calculate sometimes millions of operations in neural nets one by one, an FPGA that is large enought can have all operations in hardware connected and only needs one cycle.
In this example we keep it simple and just take the three color channels of a pixel. Then the neural net will be trained to identify objects based on their color. The FPGA can apply this neural net in one pixel clock cycle, while a processor would have to go through every pixel and calculate multiple times to get only one filter result.
What you need
Important: This are only links for the German products.
If you want to automate the AI-Generation, you can check out ONE WARE Studio!
Connect the camera to the FPGA
To train the neural net, we can take an image of an object and then train for the colors of the pixels of the object. Follow this video tutorial to send the camera images to the PC.
In the image viewer, click on the save button to save an image of the object. While we tested the training of the neural net, we found three things that are important for the best result:
- The object should be one color. Red, blue and green for example are better then black, because they are less objects with this color in images
- For training there should be a lot of different colors to sort out. For example cut out the object and put it on a color gradient. Then the neural net can learn that these are not the desired colors
- The size of the object should be at least 15% of the image. If not, go to the photo editor and increase the size of the object
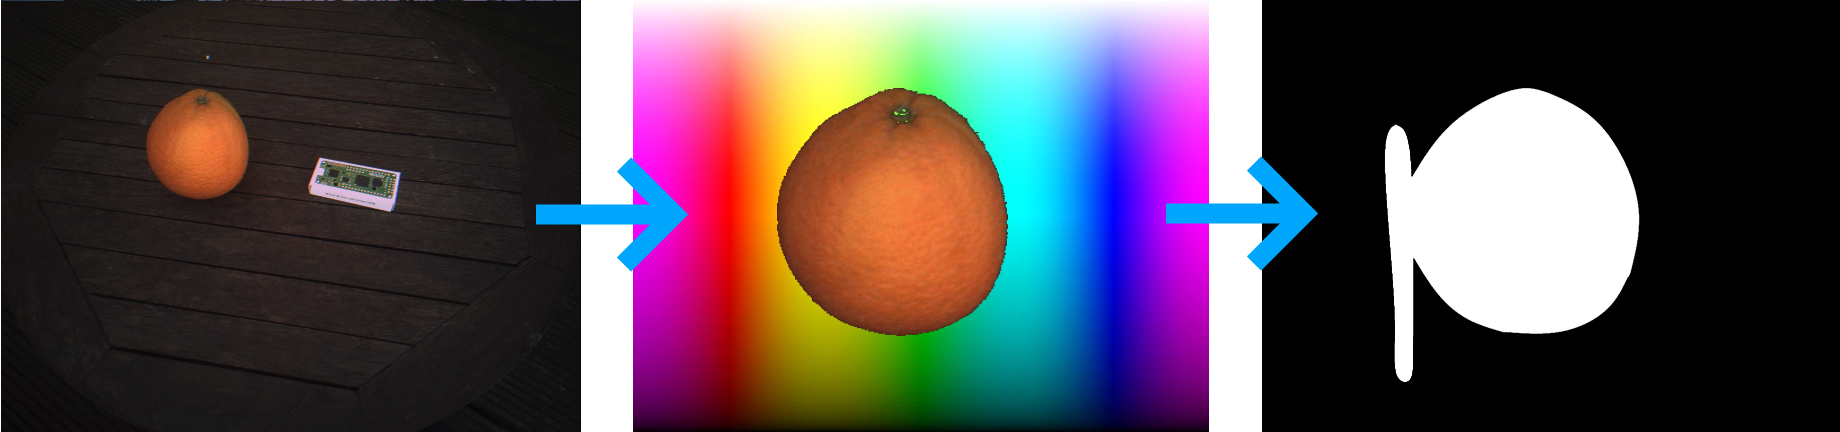 The orange should be detected in the left picture. So with Paint.net I took the orange and put it in front of a color gradient.
Then I had to create a second image where I label every orange pixel as true (white) and every other pixel as false (black).
The orange should be detected in the left picture. So with Paint.net I took the orange and put it in front of a color gradient.
Then I had to create a second image where I label every orange pixel as true (white) and every other pixel as false (black).
Train the neural net
Here you can download the project for the following steps.
In the FPGA folder you have the project for your FPGA. It is the standard OnSemi HDMI demo project, but as filter there is a neural net with 3 input neurons (the 3 colors), 3 hidden neurons and 1 output neuron. In the nn_rgb.vhd file, you can then set the weights and biases of the neurons to configure the neural net to detect the color for your object.
You can also choose to use the USB interface. Just uncomment the USB Interface on the bottom of the Neural_Net.vhdp file and comment the VS_SDRAM_Interface and HDMI_Out. But also the OnSemi_Image_Data.vhdp file should be changed to the OnSemi_Image_Data_USB.vhdp file.
In the Octave folder you can find the test.jpg and label.jpg file to train the neural net. The NN_RGB_2_Categories.m file can be executed with Octave or Matlab to create the weights and biases and in the code you can also change the size of the image and the learning parameters. The NN_convert_fixed_point.m file then creates the values for the neurons of the FPGA.
In this video you can see how to train the neural network:
And in this video you can see how to set the values in the nn_rgb.vhd file:
Connect the Image Viewer or the HDMI display like in the first video and try out the neural net running live on the FPGA. When you press the right button of the FPGA, you can also disable the filter and see the clear image.
We hope you enjoyed the tutorial and feel free to check out